Renko Charts

Renko Midline Reject Trade Setup Brick Patterns

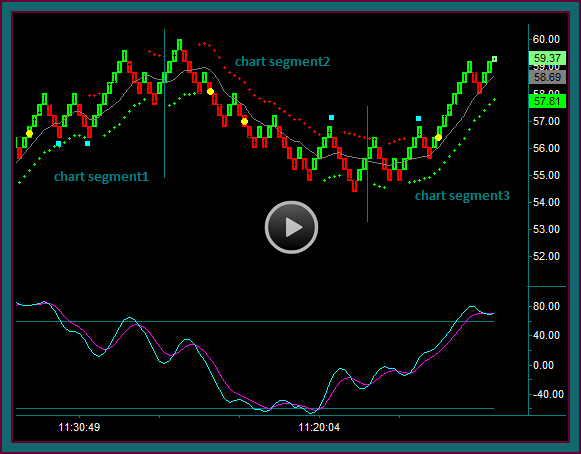
This was a good chart for discussing the renko midline reject trade setup, because (1) there were 2 midline reject brick patterns that were not full setups to take the trade (2) there were 2 midline reject brick patterns that were slightly different – but the trades were done because of having very good price continuation components.
[…]

Renko Charts

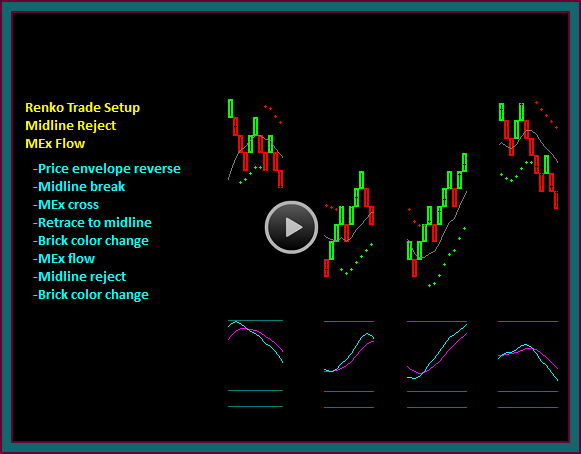
Renko Price Envelope Reversal Trade Setup

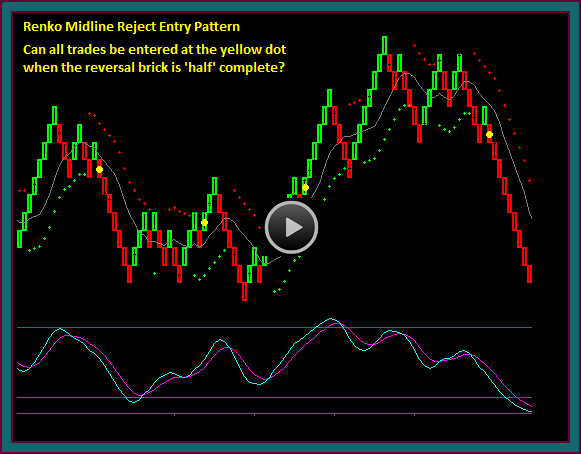
This video continues discuss the renko midline reject setup entry timing. Of particular focus is a trading chart discussion and whether there was any reason not to enter all of the trades on the reverse brick after the midline reject – I also point out 2 trades that I really shouldn’t have taken and why.

[…]

Renko Charts

Renko Chart Trade Setup And Entry Timing

The price envelope reverse midline reject is my favorite renko trade setup and is easy to identify on the chart. But what is not as clear is the actual entry timing – and entering inside an uncompleted brick after the reject -vs- waiting for that brick to complete and begin a new brick.

[…]